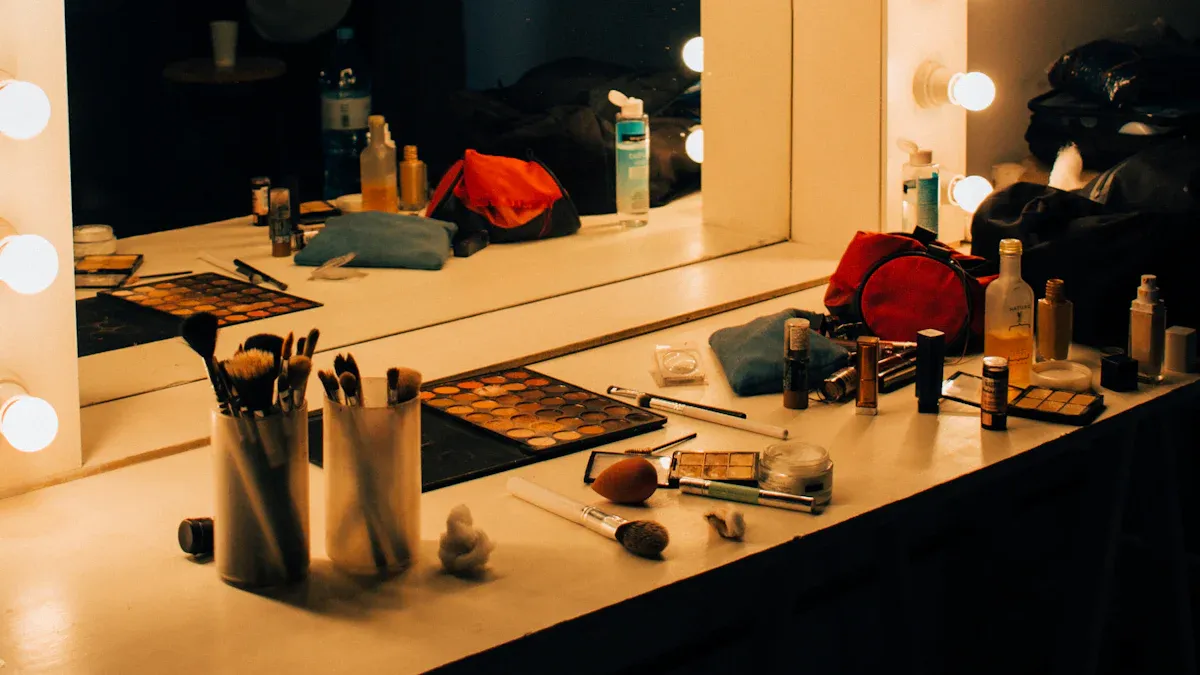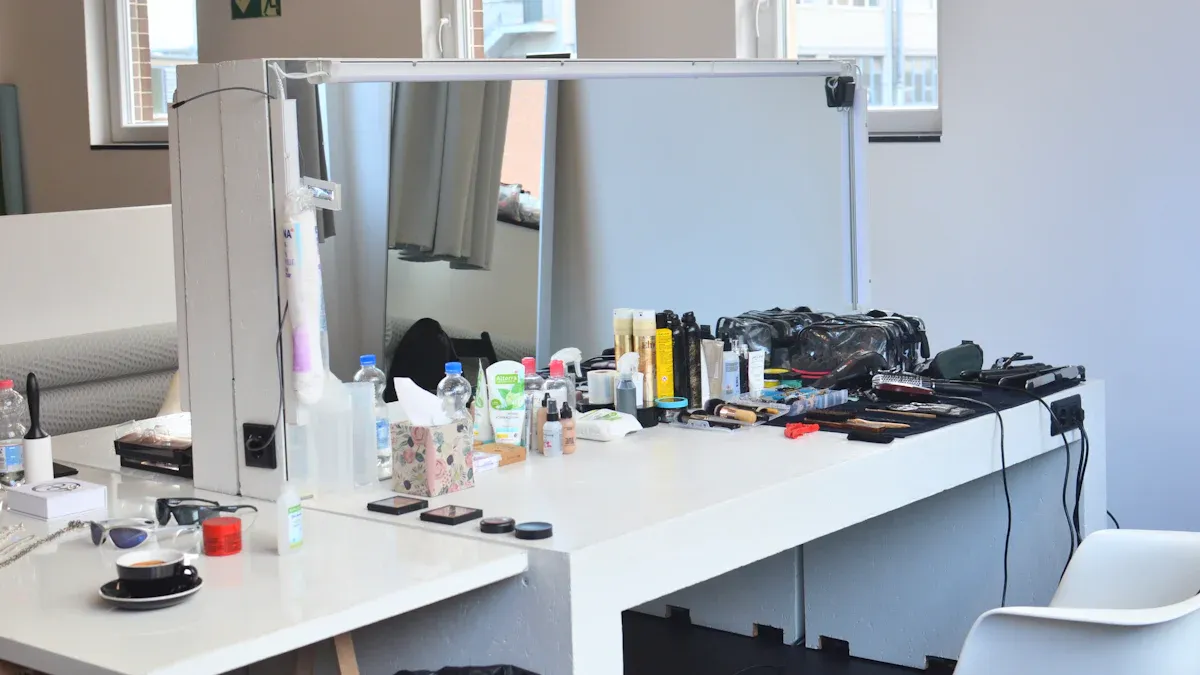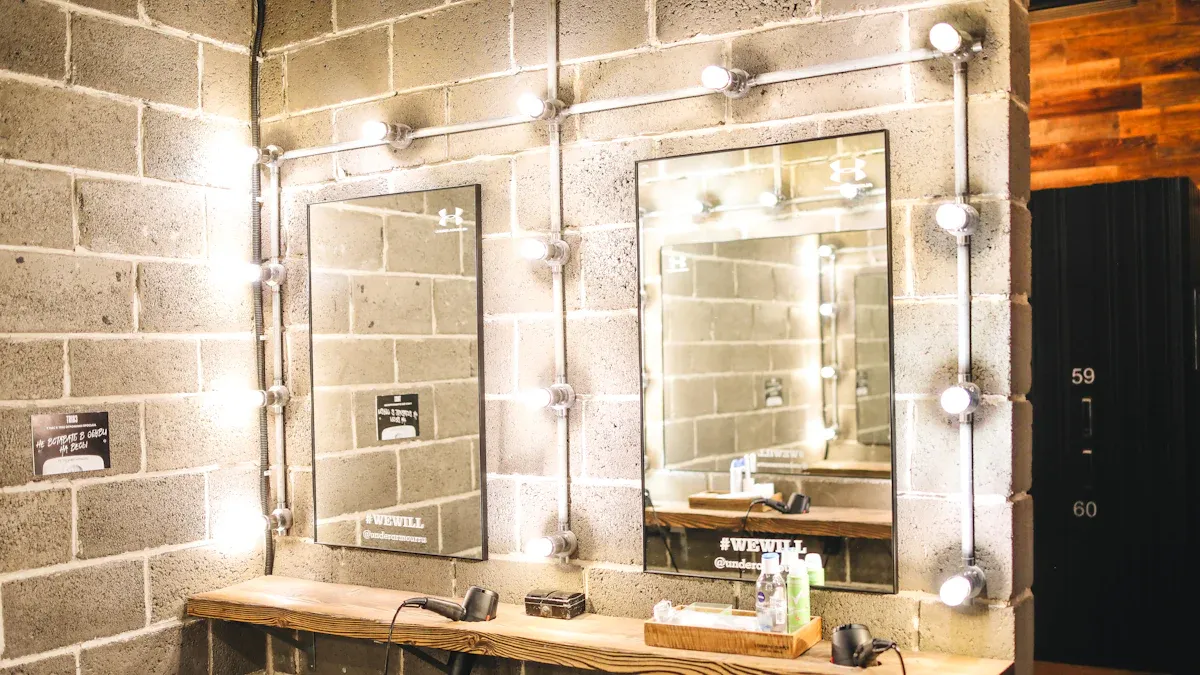
You will gather essential materials and tools for your DIY LED Dressing Mirror Light. Next, plan your LED layout carefully to ensure optimal illumination. Then, follow a clear, step-by-step guide for the installation and wiring of your custom LED Dressing Mirror Light.
Key Takeaways
- Gather all materials and tools for your LED mirror light.
- Plan your LED layout carefully for good light.
- Install and wire your LED light using a step-by-step guide.
Preparing for Your DIY LED Dressing Mirror Light Project

Essential Materials and Tools Checklist
You begin your project by gathering all necessary items. You will need the mirror itself. Select your LED strips carefully. Greenergy offers high-quality LED Mirror Light Series, LED Bathroom Mirror Light Series, LED Makeup Mirror Light Series, and LED Dressing Mirror Light Series. Their products feature energy-efficient LED strips with a 50,000-hour lifetime and durable aluminum alloy frames. You also need a power supply, a dimmer switch (if you want adjustable brightness), and appropriate wiring.
For cutting and connecting LED strips, you require specific tools:
- Cutting Tools: Small, sharp scissors work well for general LED strips. If you use neon strips, specialized neon cutters are necessary.
- Connection Tools: You will need soldering equipment or various types of connectors. Solderless connectors (plug and play) are available for COB and SMD strips. Ensure these connectors match the strip’s width, such as 8mm, 10mm, or 12mm. Neon strip special connector kits include metal pins, caps, sleeves, and waterproof adhesive for stable and waterproof connections.
- Testing Tools: A multimeter helps you check continuity after cutting or connecting. This prevents issues with non-lighting.
- Protection Tools: Use heat shrink tubing, waterproof adhesive, or potting adhesive to encapsulate cut joints. This protects against water damage and oxidation, especially for outdoor applications.
To secure the LED strips to your mirror, you have several options. Adhesive strips or mounting clips work effectively. Many high-performance 3M adhesives are suitable.
| Adhesive Type | Key Characteristics |
|---|---|
| 3M 200MP | High-performance acrylic adhesive, excellent for smooth surfaces, good temperature and chemical resistance. |
| 3M 300LSE | High-strength acrylic adhesive, ideal for low surface energy plastics (like polypropylene and powder coatings), good for rough or textured surfaces. |
| 3M VHB (Very High Bond) | Double-sided acrylic foam tape, extremely strong bond, excellent for demanding applications, good for uneven surfaces, weather-resistant. |
| 3M 9448A | General-purpose acrylic adhesive, good initial tack, suitable for a variety of surfaces, cost-effective. |
| 3M 467MP | High-performance acrylic adhesive, similar to 200MP but thinner, good for applications requiring a very thin bond line. |
| 3M 468MP | Thicker version of 467MP, offers higher bond strength and better gap-filling capabilities. |
| … (many other 3M options available, each with specific properties) | … |
Planning Your LED Dressing Mirror Light Layout
You must carefully plan your LED layout. This ensures optimal illumination for your DIY LED Dressing Mirror Light. Mirror size directly influences the required length of LED strips. You must measure your mirror to determine the necessary strip length. Cut the strips to fit. For round mirrors, add extra length. This allows for proper shaping. The density of LED strips affects the lighting appearance, such as a dotted versus a seamless look. This choice depends on your aesthetic preference. Consider where you want the light to fall on your face. Aim for even illumination without harsh shadows. Sketch your design on paper first. This helps you visualize the final look.
Understanding LED Specifications for Optimal Lighting
Understanding LED specifications is crucial for optimal lighting. Greenergy‘s LED lighted mirrors offer multi-layered protection and energy-efficient LED strips. They also feature smart touch control to modify brightness and adjust shades. You can press a button briefly to switch between white, warm, and yellow light. Hold the button down to customize brightness according to your preference.
Consider the color temperature (Kelvin) of your LEDs.
- Neutral white (4000K–4500K): This range offers a balanced, natural daylight tone. This makes it ideal for makeup application and general indoor lighting.
- Avoid excessive brightness or color temperatures above 6000K. Such conditions can make skin appear pale and unnatural.
- Do not choose too warm a tone (below 2700K). This can make colors look muddy or orange.
- Adjustable color temperature is a valuable feature. LED vanity lights with this capability adapt seamlessly to various environments. This ensures realistic makeup application.
- Daylight or Natural Light (5000K to 6500K): This range mimics natural sunlight. This provides the most accurate color rendering for makeup application.
The Color Rendering Index (CRI) is another vital specification.
- A CRI of 97 or higher ensures accurate color perception in makeup application.
- For makeup artists, a CRI of 97-98 across all 15 colors is essential.
- A CRI of 90 or above ensures natural and true-to-life reflections in dressing areas.
- Premium projects often use CRI 95+ or even CRI 98.
- For primary grooming lights, select strips with CRI > 95.
- A CRI ≥ 90 is recommended. This ensures facial tones appear natural and provides color consistency in large installations.
Step-by-Step Installation of Your LED Dressing Mirror Light

Mirror Preparation and LED Strip Placement
You begin by preparing your mirror. First, ensure the mirror surface is clean and free of dust or oils. Use a gentle cleaner. Then, wipe the mirror surface thoroughly with a microfiber cloth. This ensures optimal adhesion for your LED strips. Next, carefully place your LED strips according to your planned layout. You can affix LED strips to the back of the mirror using adhesive or tape. Alternatively, you can affix them to the frame of the mirror using adhesive or tape. This step requires precision to achieve an even and aesthetically pleasing light distribution.
Wiring and Powering Your LED Dressing Mirror Light
Now, you connect the electrical components. You must connect the transformer’s input terminals to the 240V mains supply, specifically the positive and negative cables. Then, connect the transformer’s output terminals to an inline LED dimmer. Refer to a ‘power supply for single-colour LED strip with inline dimmer’ wiring diagram for visual guidance. If you use a wireless LED dimmer, an LED receiver is necessary to pick up its radio-frequency signal. For driving multiple LED dimmers from one transformer, you can use a connector-block. Remember, do not connect low-voltage LED strips directly to a wall switch. The 110Vac or 220Vac output from a wall switch will damage them. High-voltage LED strips, however, can connect to a wall switch.
Safety is paramount during wiring. Minimize exposure to live parts by using insulating barriers or shields. Cover grounded metal parts. Limit energy and current by keeping fault current low and using current-limiting devices. Avoid rushing the job; focus on doing it correctly to prevent mistakes. Implement lockout/tag-out procedures to prevent unexpected energy releases. This ensures equipment remains off during work. Use one hand and turn your body to the side when operating a safety switch to protect against arc flashes. Wear appropriate personal protective equipment (PPE) as determined by workplace hazard assessments. Ensure your tools meet current standards. Stay updated on the latest electrical practices and safety guidance through continuous learning. Speak up if a situation feels unsafe or if hazards are present, even if it delays work. Maintain a tidy work area to prevent non-electrical hazards like slips, falls, or burns.
For permanent installations, especially inside walls, use Class 2 In-Wall Rated Wire. This wire has extra insulation resistant to cracking or melting, unlike standard hardware store wire. Power supplies convert 120V to 12V or 24V. 12V DC drivers must be 60W or under, and 24V drivers must be 96W or under. They must be marked as Class 2 compliant. Class 1 and Class 2 circuits must be separated, often requiring a junction box for 120V AC to 12-24V DC converter connections. Lighting fixtures must be certified by a National Recognized Testing Laboratory (NRTL) like Underwriter Laboratories (UL) or Intertek (ETL). Verify certification through product details or manufacturer contact.
Securing and Finishing Your LED Dressing Mirror Light Setup
After wiring, you secure and finish your LED Dressing Mirror Light setup. You can utilize molding along the mirror’s edges to hide the LED strips. Alternatively, use channels along the mirror’s edges to securely conceal the LED strips. This creates a clean, professional look. Obtain a work permit from a local safety or electrical inspector, especially for new construction or major modifications. Present a detailed wiring diagram of your project to the inspector. Undergo a ‘rough-in’ inspection where wiring is checked for proper installation and Class 2 compliance before switches, fixtures, insulation, and walls are added. After passing the rough-in, complete the installation with insulation, walls, switches, and fixtures. Undergo a ‘final’ inspection where power supplies are checked for accessibility and Class 2 compliance. Lighting fixtures are also verified to be NRTL-approved.
Optimizing and Maintaining Your LED Dressing Mirror Light
Achieving Optimal Lighting Quality and Diffusion
You can enhance your lighting quality and diffusion. Use effective diffusers to soften LED light. Frosted diffusers scatter light rays. This creates a gentle, even glow. They reduce glare and hotspots. Opal diffusers also create soft, even lighting. They use a milky white material to scatter light. This produces a smooth, uniform glow. Opal diffusers blend individual LED diodes into a continuous line. This reduces glare. Ensure optimal distance from the surface. This prevents hotspots and shadows. A deeper LED channel increases the distance between the LED strip and the diffuser. This results in more even light diffusion. You can utilize aluminum channels with diffusers. This spreads light evenly and protects the strips.
Ensuring Safety and Longevity of Your LED Dressing Mirror Light
You must ensure safety and longevity for your LED Dressing Mirror Light. Always ensure proper insulation and grounding. Verify voltage compatibility. Balance circuit loads. Adhere to local electrical codes and regulations. Check equipment ratings for safe operation. Never cut or modify LED strips while they are powered. Avoid running excessively long strips without voltage injection. This prevents performance issues. Use certified connectors. Keep flammable materials away from heat-dissipating LED drivers. Select regulated power supplies with short-circuit protection. Manage heat effectively. Excess heat shortens lifespan. Use aluminum mounting channels to dissipate heat. Choose the correct voltage and a high-quality power supply. This prevents current fluctuations and overheating.
Customization and Smart Features for Your LED Dressing Mirror Light
You can customize your LED Dressing Mirror Light with smart features. Motion sensors allow hands-free operation. The mirror lights up automatically upon detecting presence. Adjust color temperature and brightness. You can customize the light’s warmth or coolness. Adjust its intensity for different moods or tasks. Bluetooth connectivity allows audio streaming. Anti-fogging technology keeps the mirror clear. Voice control options let you adjust lighting or stream music. Create customizable lighting presets. These activate specific lighting moods with a tap. You can connect your system to smart home platforms. Zigbee compatible devices are recommended. They access multiple smart home platforms. The Tuya APP is an example platform. It controls Zigbee-compatible LED drivers.
You successfully prepared materials, installed components, and optimized your lighting. This DIY project offers custom illumination and enhances your space. You gain a personalized setup, perfectly tailored to your needs. Now, enjoy your unique, well-lit dressing area.
FAQ
How long will my DIY LED dressing mirror light last?
High-quality LED strips, like those from Greenergy, offer a lifespan of up to 50,000 hours. Proper installation and effective heat management ensure your DIY LED dressing mirror light provides lasting illumination.
Can I add smart features to my DIY LED mirror?
Absolutely! You can integrate motion sensors, voice control, or Bluetooth connectivity. Customizable lighting presets and smart home platform compatibility enhance your DIY LED dressing mirror light experience.
Is it safe to build my own LED dressing mirror light?
Yes, if you follow all safety guidelines. Ensure proper wiring, insulation, and grounding. Always use certified components and adhere to local electrical codes for your DIY LED dressing mirror light.
Post time: Nov-21-2025


